In robotics and smart control systems, the stability of a servo motor directly impacts overall performance. For beginners, installing a servo for the first time can feel overwhelming—wires, brackets, and alignment often bring confusion. This article takes the GXServo MG996D as an example to guide you through a step-by-step servo installation process from scratch.
Step 1: Prepare Tools and Components
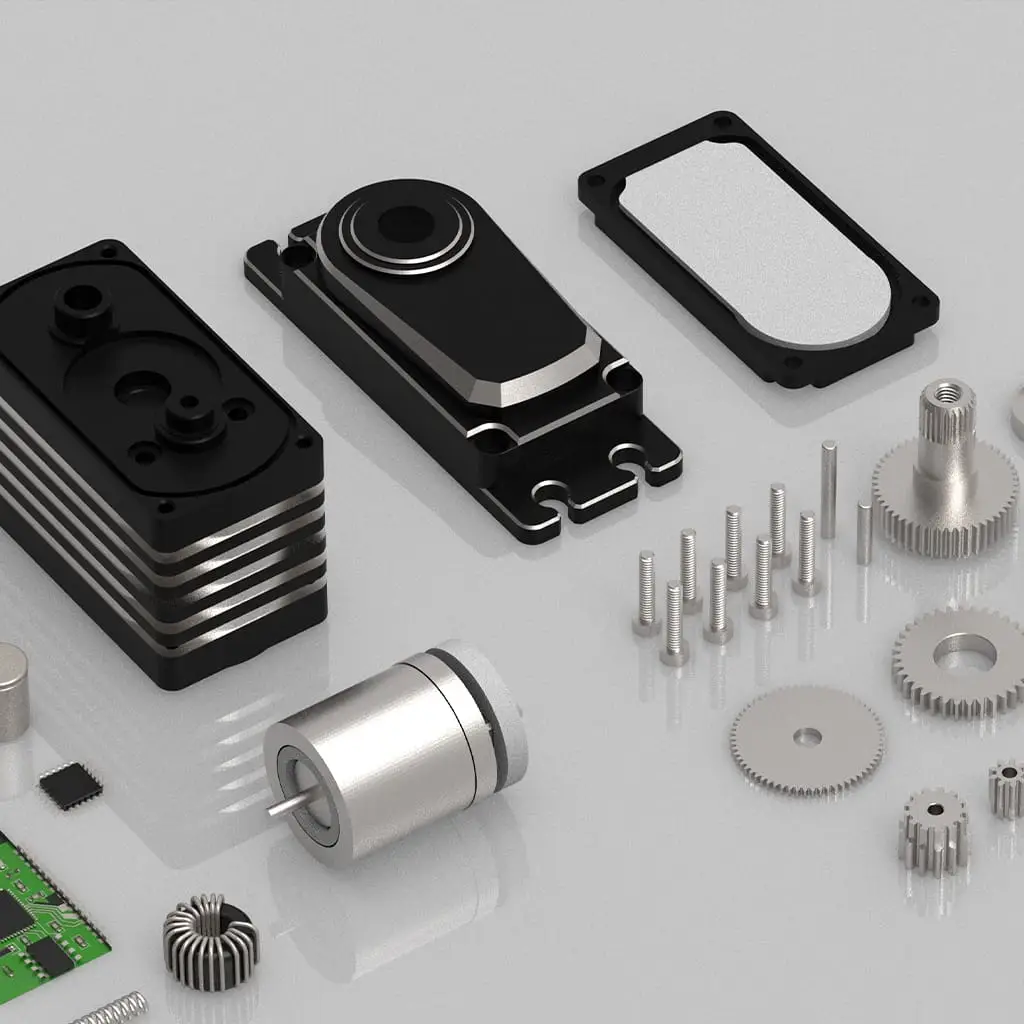
Before starting, gather the necessary tools and accessories: a Phillips screwdriver, power module, servo mount, screws and nuts, servo horn, and cables. Confirm that the specifications of your servo model (e.g., GXServo MG996D) match your control platform (e.g., Arduino, STM32), especially voltage and torque ratings.
Step 2: Mount the Servo Body
Position the servo onto the mounting platform, aligning the screw holes on both sides with the bracket. Secure it firmly with screws. Since MG996D has high torque, a metal bracket is recommended to prevent loosening under load or vibration.
Step 3: Attach the Servo Arm
Use software or a tester to rotate the servo to its center position (usually 90°). Then, align and fix the servo horn using the included screw. Be careful not to overtighten, as this could damage the servo shaft.
Step 4: Connect Power and Signal Wires
GXServo uses a standard 3-wire interface: brown (GND), red (VCC), orange (signal). Connect these wires to the corresponding pins on your controller. To ensure stable performance, use a separate power module to supply the servo, especially under heavy loads.
Step 5: Function Testing and Calibration
Upload a basic PWM control program (e.g., using Arduino’s Servo library) to test the servo’s movement. If it operates smoothly, the installation is likely correct. Issues like jitter or inaccurate positioning could indicate wiring or mechanical errors.
Conclusion
The key to a successful servo installation is stability and precision. While the GXServo MG996D offers reliable build quality, proper installation remains essential. Whether you’re a beginner or experienced developer, following standardized steps ensures efficient tuning and long-term reliability.