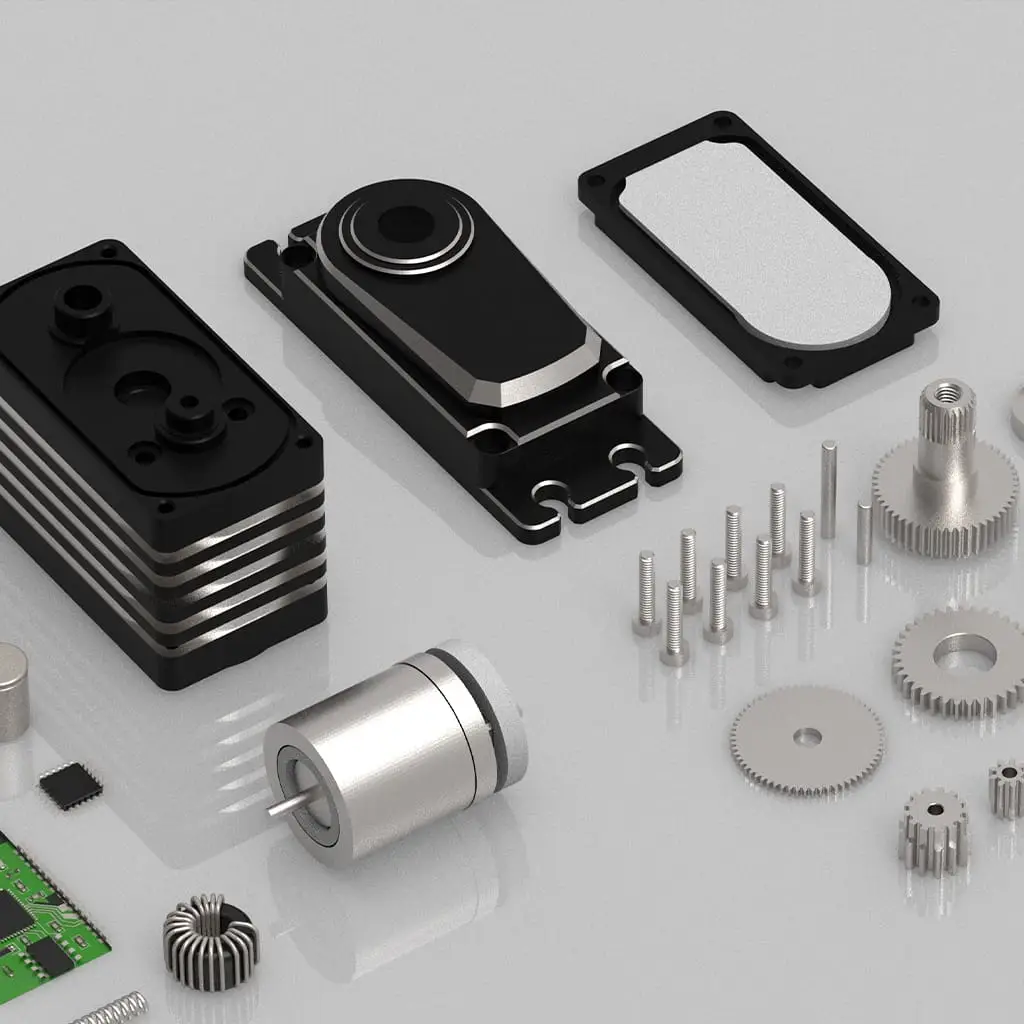
As robotics systems evolve, servos are no longer mere mechanical components—they’re intelligent actuators working in harmony with control software. This article explores the full-cycle installation process from a systems engineering perspective, using GXServo’s digital servo series as an example.
1. Control Protocol Defines Installation Method
Some GXServo models support serial communication instead of PWM. Confirm whether your control system (e.g., microcontroller or servo controller) supports TTL or RS485 protocols, and use the appropriate modules.
2. Pre-Installation Calibration
Before installation, rotate the servo to its center position (e.g., 90°) using test software or commands. This ensures correct alignment and mechanical balance during final mounting.
3. Separate Data and Power Routing
For interference-free communication, route signal and power cables separately. Use shielding and proper grounding for the signal lines. Label cables clearly for easier maintenance.
4. Tuning and Feedback After Installation
Once mounted, tune the PID parameters in the control software based on real-time feedback from the servo (e.g., error angle, response time). GXServo digital servos support position feedback, enabling closed-loop control.
5. Installation Accuracy Affects Control Precision
Mechanical misalignment or loose mounting will degrade software control accuracy. Even with advanced algorithms, poor installation undermines performance. Hardware reliability is the foundation of closed-loop control.
Conclusion
Modern servo systems require tight integration between hardware and software. The intelligent control features of GXServo digital servos only shine when installed with mechanical precision and configured correctly in the system software.

